
A simple paver patio can add attractive usable living space to your garden and enhance your property’s value. Pavers are easy to install, maintain, or get rid of once their useful period ends. Laying pavers may be undertaken as a DIY project or together with professional contractors. Either way, it is important to understand the creative and technical aspects of installing pavers. Read on for some tips on how to lay pavers on dirt.

How To Lay Patio Pavers On Dirt
The first tip for how to lay pavers is to plan the layout of the intended paved area with drawings, measurements, and calculated estimates of all requirements. Detailed planning is critical for the success of installing pavers over dirt. Considering all installation stages of the project in advance yields a smooth operation.
Excavating and base compaction of the ground area in preparation for paving is the next step. Critical attention should be paid to existing soil types and weather elements. This is because they determine the thickness of the pavers’ base and sand bedding. Base thickness of at least 4 inches is recommended for pedestrian areas like patios and walkways. The excavated area should incorporate the total depth of the base, bedding sand, and pavers thickness.
To ensure proper drainage, the Interlocking Concrete Pavement Institute (ICPI) recommends a minimum of 2% slope from the house to the paved area. ICPI does not recommend laying pavers without a base and gives emphasis to compaction in minimizing the deformation of the paved space.
Pavers Edge Restraints and Borders
Install the Pavers
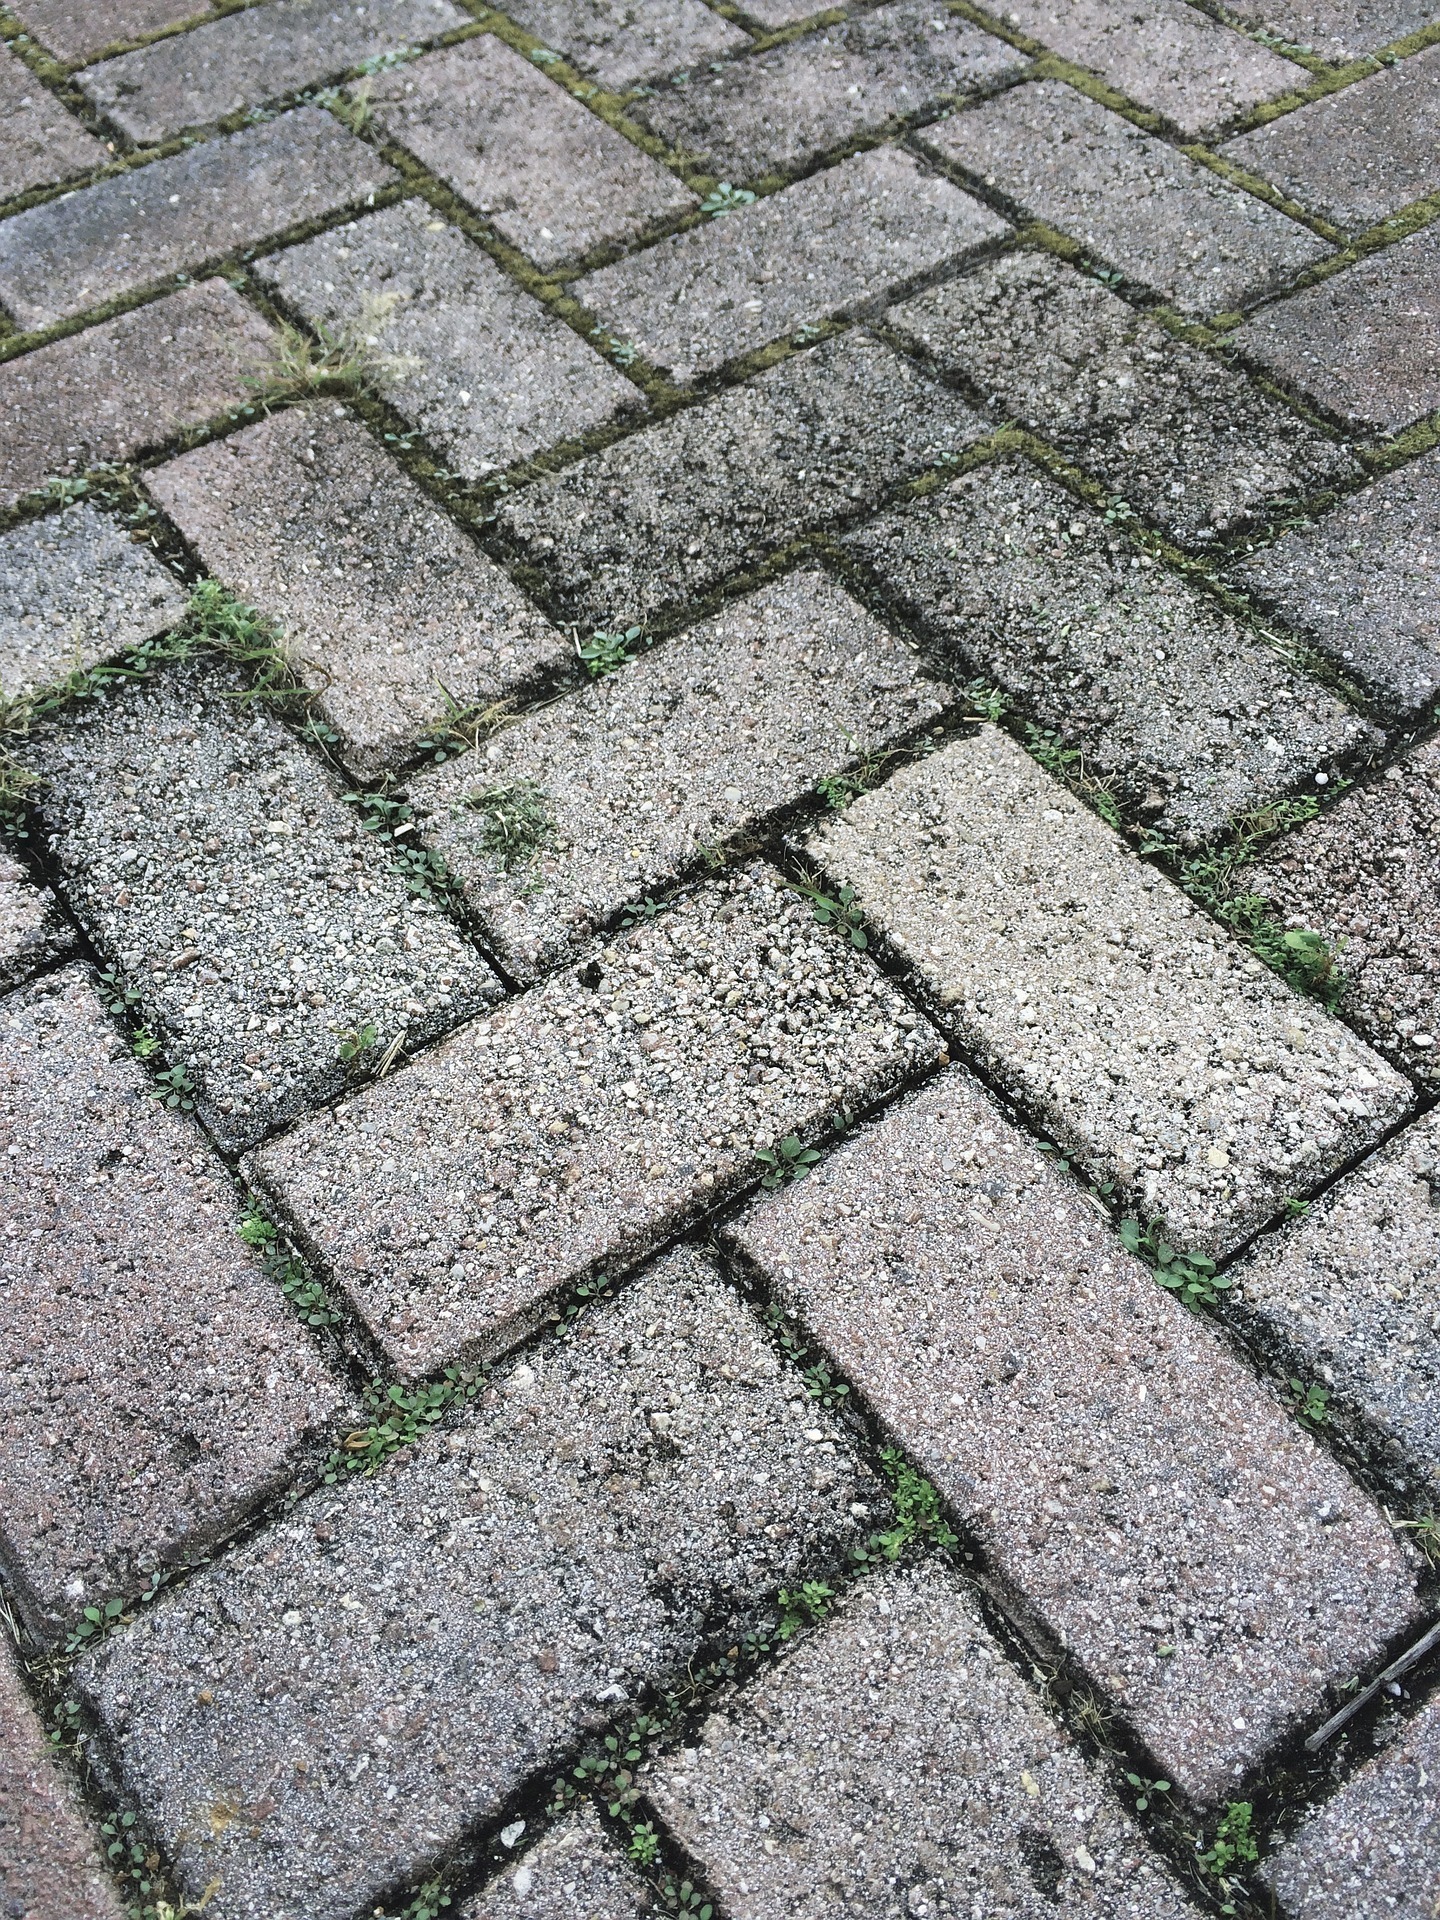
Lay the pavers closely together according to the chosen pattern and design. Start from one corner and work your way around the area. Use a diamond saw, a masonry chisel, or mechanical splitter and safety glasses to cut pavers to the sizes required. While installing, tap the paver with a rubber mallet to ensure solid contact with the underlying compacted bedding. Lay the first pavers parallel to the foundation, and then lay the remaining pavers in a running bond or other patterns.
Sand Joints
The reason for using sand on joints is that fine sand will compact much better and fill up joints quicker. The sand and pavers area must be dry to complete this step. Sweep fine sand over the entire paved surface to lock the pavers’ joints into place. Rolling a plate compactor over the paved area ensures that the sand has totally filled the joints. Sweep additional sand over the pavers and allow for time to dry ready for sealing.
Sealing
Sweep clean the newly paved area. Apply a sand binding sealant over the area to prevent settling and growth of seeds or moss between the joints. Sealant further protects the pavers from hard to clean spillages.
Maintenance
Pavers are normally installed with a lifetime warranty. To maintain their appearance, sweeping and cleaning the pavers regularly is recommended. Regular sealing may also be necessary to maintain color, appearance, and ease of cleaning. It also helps protect the pavers against stains, moss, algae, and loss of joint sand.